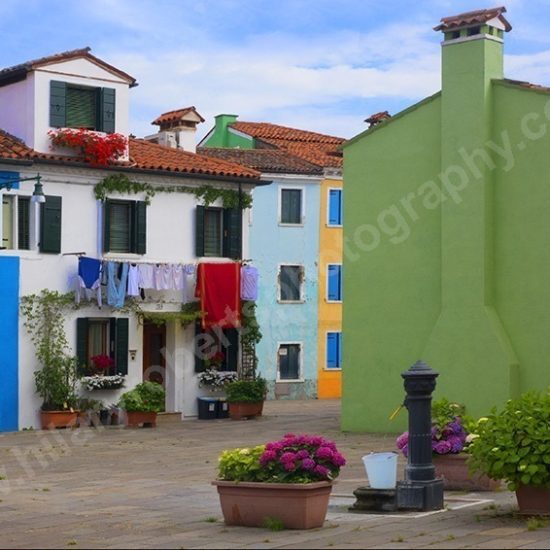
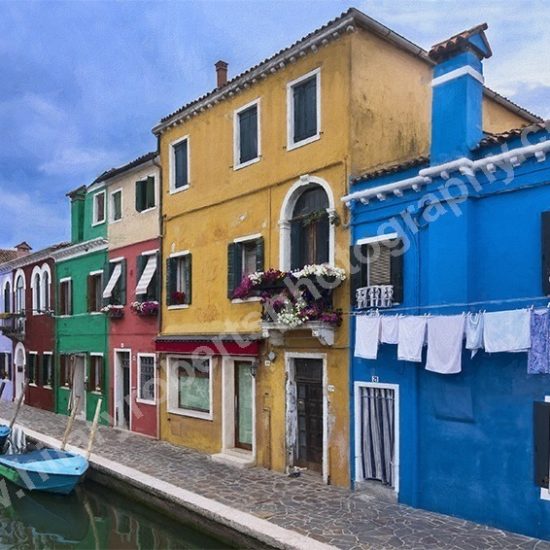
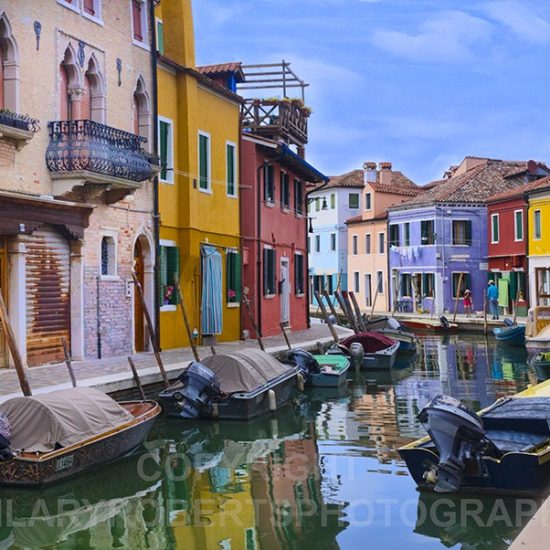
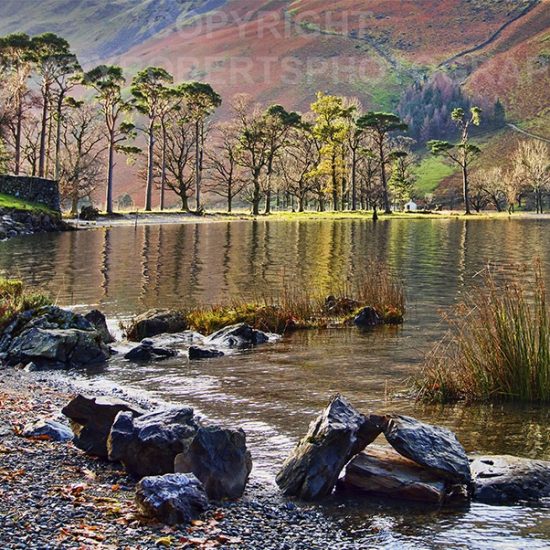
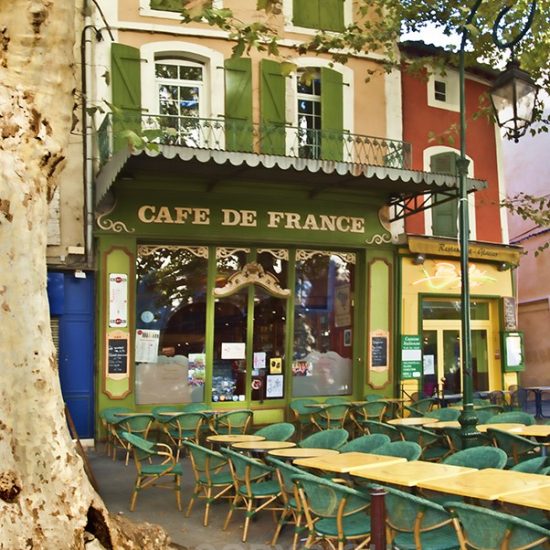
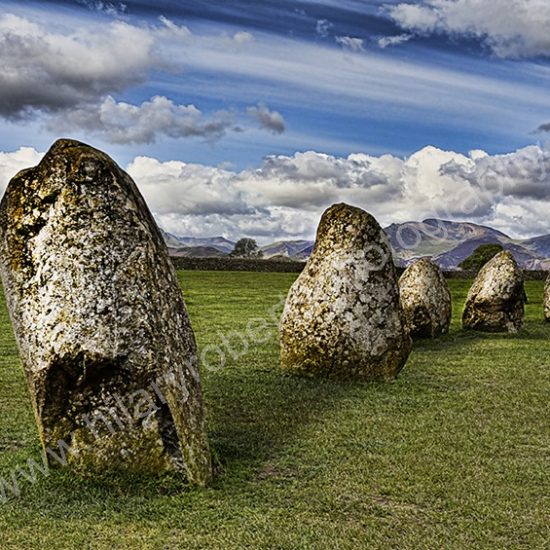
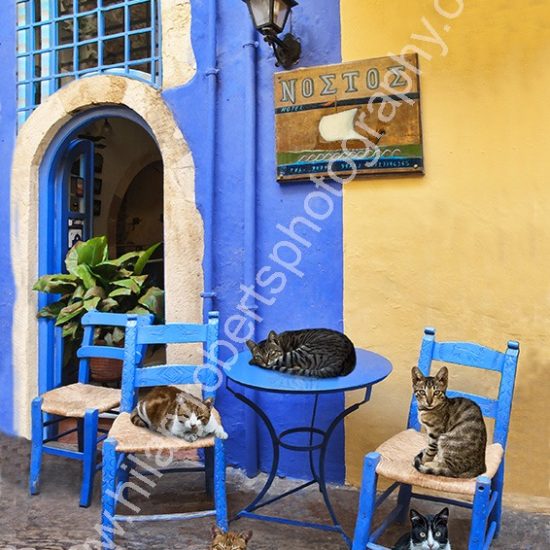
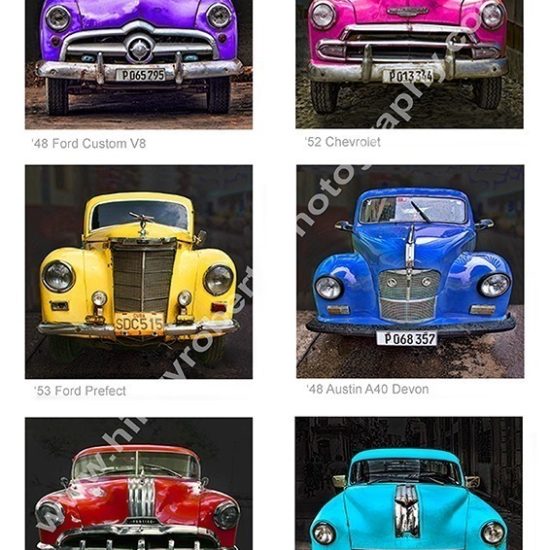
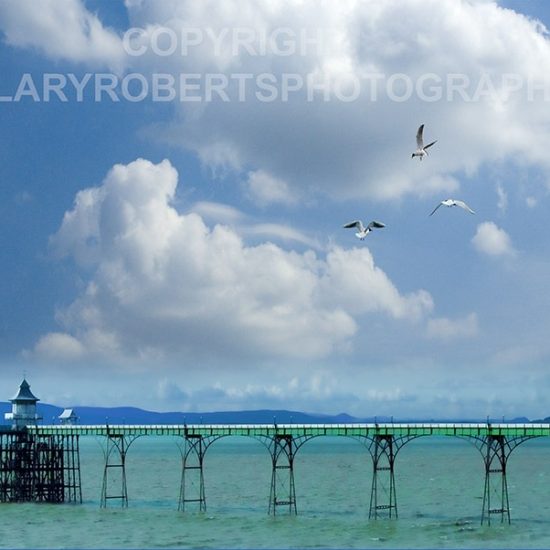
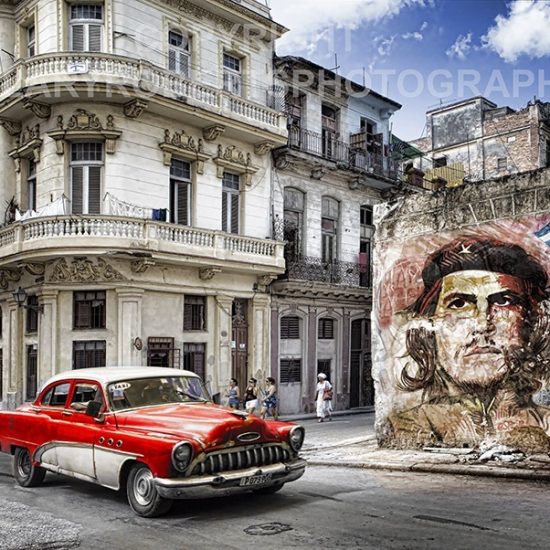
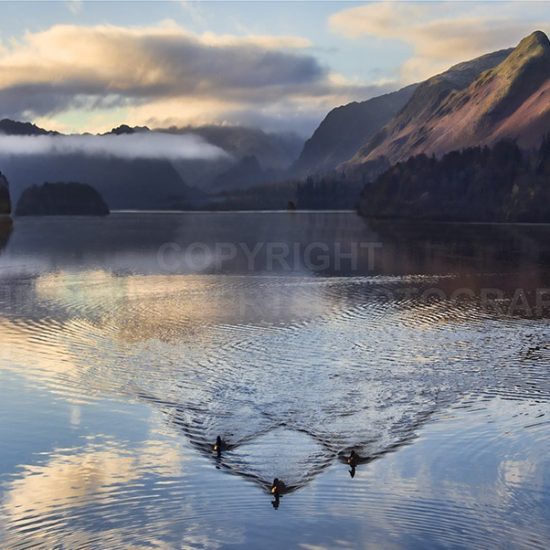
Here you can see images from this country and from all around the world. Please note – the pictures are not square!
The pictures in this gallery are available to buy from the website in two sizes. The first size is A4 (29.7 x 21 cm) and the second size is 16″ x 12″ (40.5 cm x 30.5 cm). Either size will be sent in suitable packaging for you to frame as you wish. They cost £29.00 or £45.00 and UK postage is included.
If you can collect from Leamington Spa I can mount the print for you at the same price.